-
- Abundante
- Adquirentes de pagos
- Ajustes
- Analítica
- Citas en línea
- Comercio Electrónico del Sitio Web de Odoo
- Configuración el Sitio Web de Comercio Electónnico
- Diseñe la Página de Su Sitio Web
- Gestión de Productos
- Gestión de Varios Idiomas
- Grupos
- Herramientas de fragmento
- Lista de precios
- Listado de productos
- Métodos de envío
- Múltiples compañías
- Múltiples sitios web
- Operaciones de blog en backd
- Pedido
- Personalización de la Página del Catálogo de productos
- Personalización del catálogo de productos
- Personalizar el menú y las apariencias
- Porcos
- Programas de cupón y promoción
- Publicar contenido específico para el sitio web
- RedirracionAmiento
- Salas de chat
- Sesión de Productos en la PESTAÑA CONFIGURACIÓN
- Sitio Web
- Tablero de Comercio Electrónico
- Tarjeta de Regalo
- Twitter Wall
- Visitantes
- Vistas de la Página
-
- Activo
- Adquirentes de pagos
- Biblioteca de contabilidad
- Catálogo de cuentas
- Conabilidad miscelána
- Configuración de Datos Bancario
- Contabilidad
- Contábilidad analíta
- Diario
- Estados de Cuenta Bancario
- Factura de Clientes al Pago
- Fechas de Bloqueo
- Fiscales de posiciones
- Gastos de Empleados
- Informa de de Socios
- Informa de seguimiento
- Informa en contabilidad
- Ingresos y Gastos Diferidos
- Mandatos de débito directo
- Notas de Crédito
- Pagos
- Pagos por lotes
- Presupuesto
- Reconciliatura
- Redondeo en efectivo
- Tablero de contabilidad
- Tipos de contabilidad
- Transferencias automáticas
- Términos de Pago
-
- Abundante
- Adquisico de Plomo
- CREACIÓN DE COTIZACIONES DE VENTAS
- CRM
- Caracteríssticas de Odoo 15 CRM
- Convertir LOS Cables en Oportunidades
- Cómo Odoo CRM Gestiona Las Oportunidades Perdidas
- FluJo de trabajo general de Odoo CRM
- Formulario de generación de plomo múltiples fuentes
- Funcionando -Con Clientes Potenciales
- Manejo de Liderazgo
- Nuevas Opciones en la ventana de configuración de Odoo 15
-
- Análisis de producción
- CREANDO CENTROS DE TRABAJO
- Fabricación
- Facturas de materiales
- Gestión de Chatarra
- Gestión de Mantenimiento
- Gestión de órdenes para no consultor
- Informe General de Efectividad del Equipo
- Pedidos de Fabricación
- Planificación de Pedidos Laborales por producción
- Planificación de órdenes de Trabajo por WorkCenter
- Programa de producció Maestra
- Órdenes de Trabajo
-
- Abundante
- Ajustes de Inventario
- Anuncios
- CARACTERÍSTICAS DEL MÓDULO DE INVENTARIO DE ODOO
- Categorizacia de productos
- Categorías de Almacenamiento
- Configuración del producto
- Confirmación de SMS en la Entrega
- Confirmación por Correo Electrónico en la Entrega
- Costos de Aterrizaje
- Empaquetado del producto
- Entrega
- Entregar Paquetes
- Estategias de Eliminación
- Gestión de Almacenes
- Gestión de Chatarra
- Integrando el Remitente de Terceros en Odoo
- Inventario
- Operaciones de inventario
- Planificadores
- Reglas de Caída
- Reglas y rutas
- Tiempos de Programació
- Trazabilidad del Producto
- Ubicacia
- Unidad de Medida
- Variantes de productos
-
- APEGO Salarial
- Abundante
- Configuración
- Contratos
- Entradas de Trabajo
- Estructuras salariales
- Información personal
- Nómina de Odoo
- OTROS TIPOS DE ENTRADA
- Parámetros de la regla salarial
- Reanudar
- Salarios de reglas
- Salpicaduras
- Tablero
- Tiempos de Trabajo
- Tipo de estructura salarial
- Tipos de Entrada de Trabajo
- Ventajas
Fleet Management - Odoo 15 Community Book
Fleet
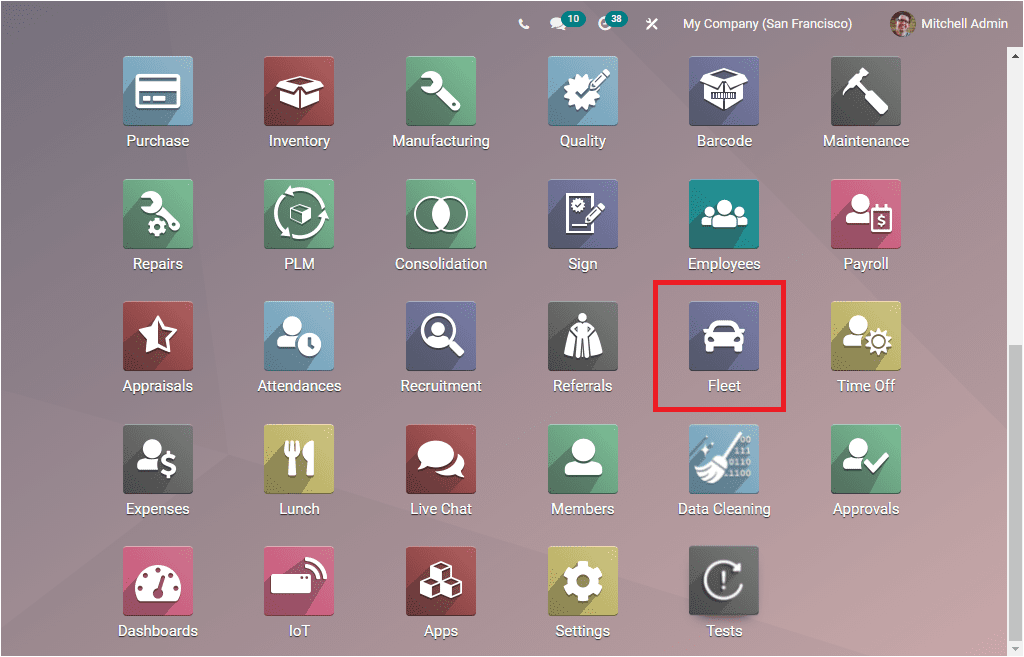
Para acceder al módulo de flota, debe instalar el módulo desde aplicaciones Odoo.Una vez que instale el módulo, podrá ver el icono del menú del módulo de flota en el tablero de Odoo, como se muestra en la imagen a continuación.
You can click on this menu icon to enter the module. Now you will be displayed with the home dashboard window of the Odoo Fleet management module. The image of the window is depicted below.
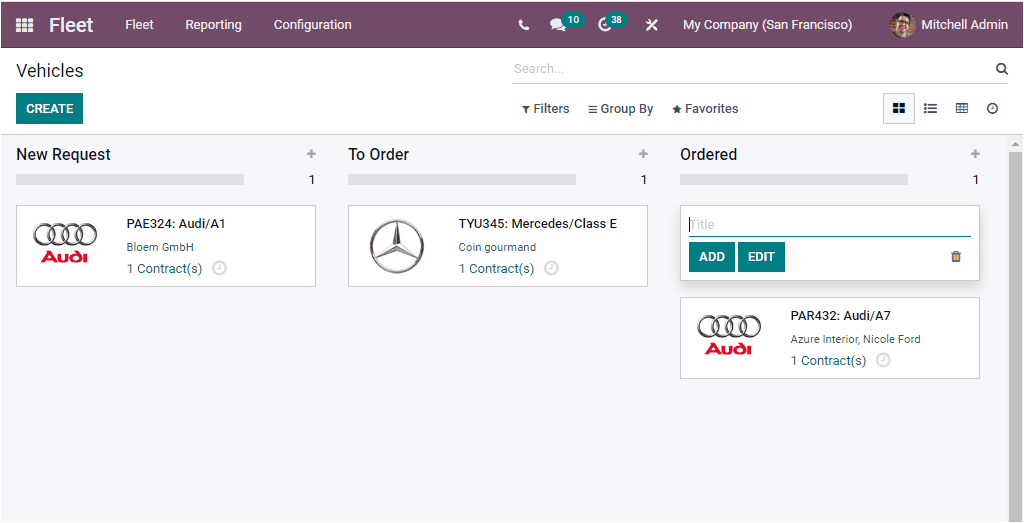
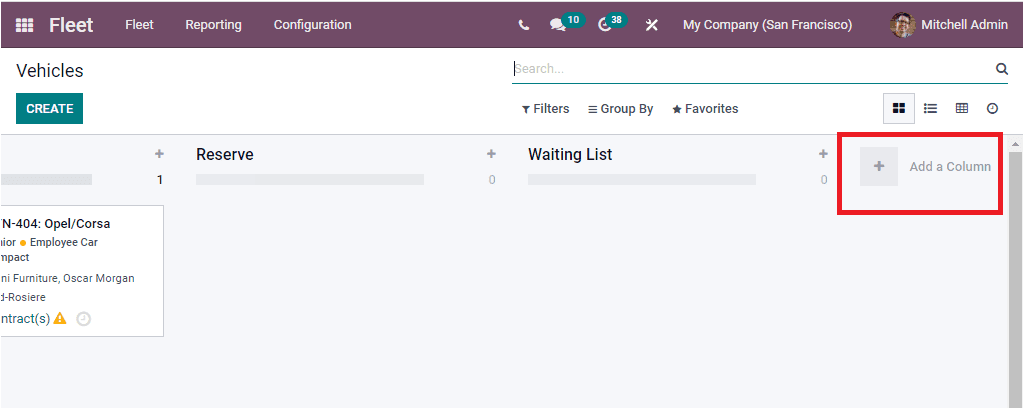
The home dashboard window or Vehicles window will exhibit all your organization's vehicle details that are already described in the platform. In the Kanban view, the vehicle details are listed as per their stages of operations. The different stages defined in this window are New Request, To Order, Ordered, Registered, Downgraded, Reserve, and Waiting List. Odoo gives you the permission to create and customize various other stages, and also you are allowed to edit or delete the already made stages based upon your organization's preferences. For creating new stages, you can click on the Add a Columnbutton, and you can provide all the required details.
In each of these stages, Odoo included the Settings and Quick Add options. These options can be accessed from the top right corner of the window. These menus are highlighted in the below image.
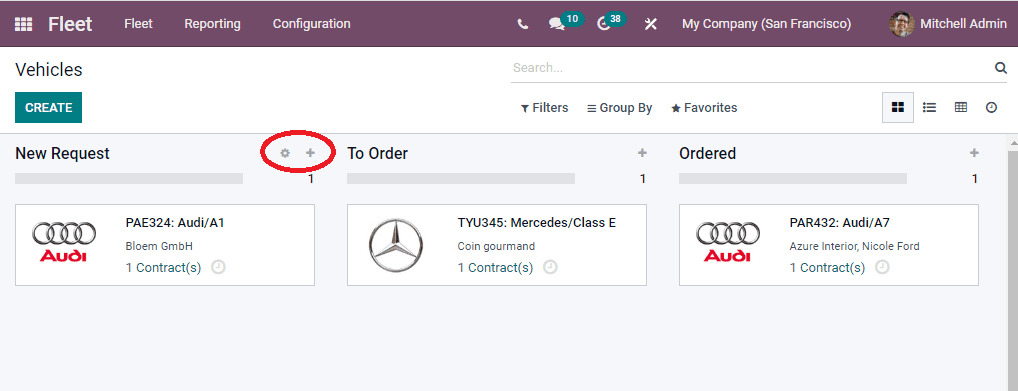
The Settings menu includes various options. When you click on this menu, you will get a dropdown menu that will consist of the options such as Fold, Edit Stage, Delete, Archive All, and Unarchive All.
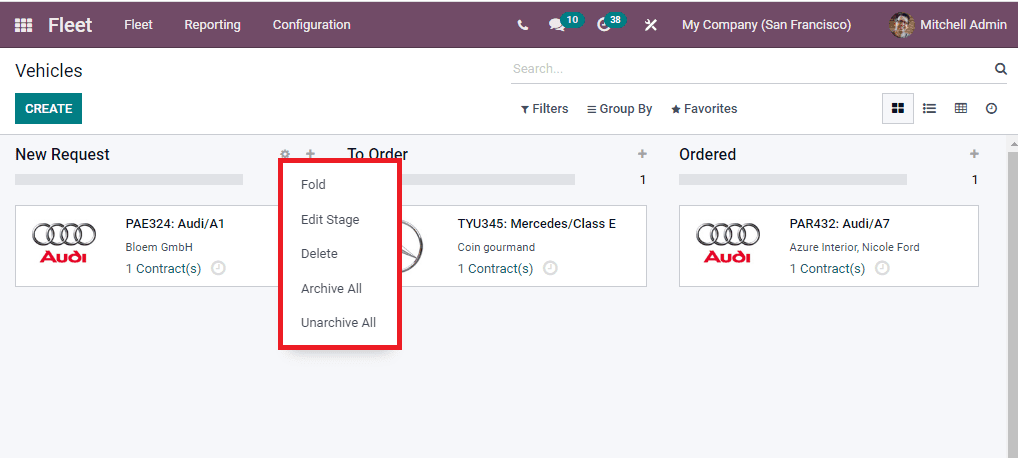
The Fold option allows you to fold the stage, and this will be very useful when a stage has no records. In that case, you can fold it without deleting it. And also, it will be beneficial when the window contains a large number of stages. The Edit stage button can be used to edit a stage, and the Delete option allows you to delete that particular stage. You can also archive or unarchive all records from that stage by clicking on the respective icons.
The Quick Add option allows you to add new records in that particular stage quickly. Upon selecting this button, you will receive a pop-up window as shown in the below image where you can provide the title or vehicle's name.
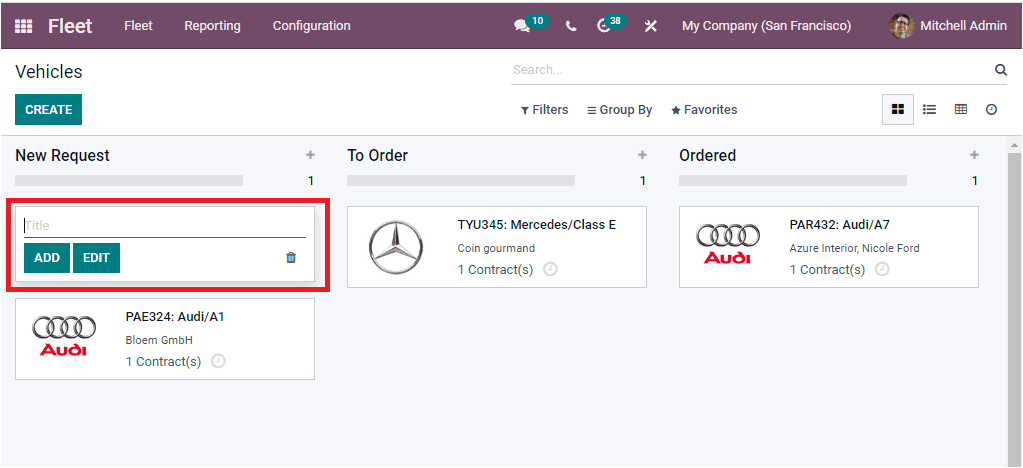
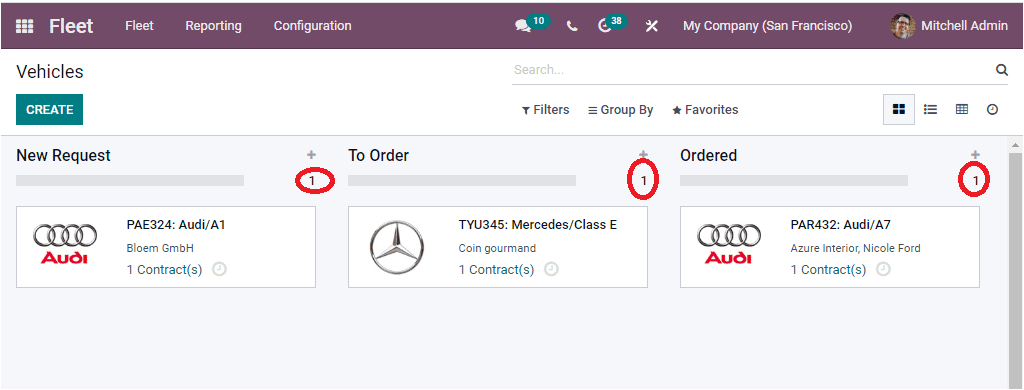
Then you can click on the ADD button. Then you will depict the Vehicle creation window where you can provide the details and then save it. The number of vehicles in each stage will be displayed on the top right side, just below the Quick Add and Settings option.
The list of records in the window can be easily filtered and sorted out by applying various default options and also can be customized with new filters and group by options for quickly searching records. The default filtering options are available under the Filters tab. Which are Available, Bikes, Cars, Trailer Hook, Planned for change, Need Action, and Archived. The default Group By options is Status, Model, Brand, and Fuel Type.
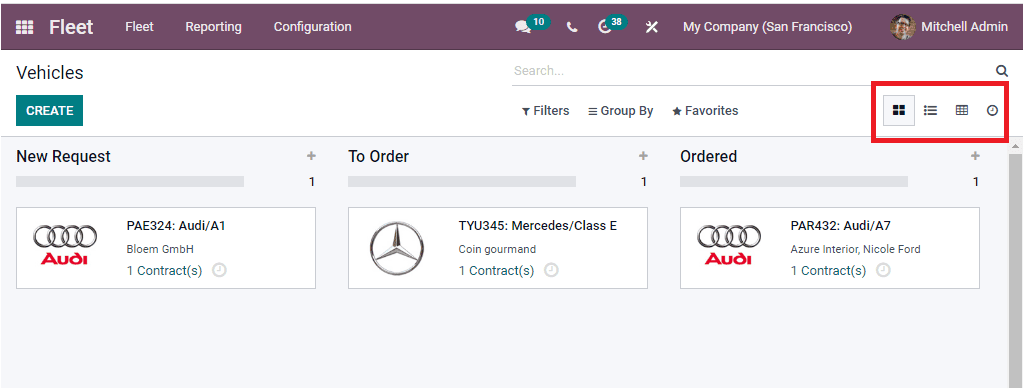
Now we are discussing the Kanban view of the vehicle window. The window can also be accessed in different perspectives such as List, Kanban, Pivot, and Activity view. The menu icons for accessing this window are available on the top right corner of the dashboard window.
To create a new vehicle in the platform, you can click on the CREATE button that can be accessed from the top left corner of the window.
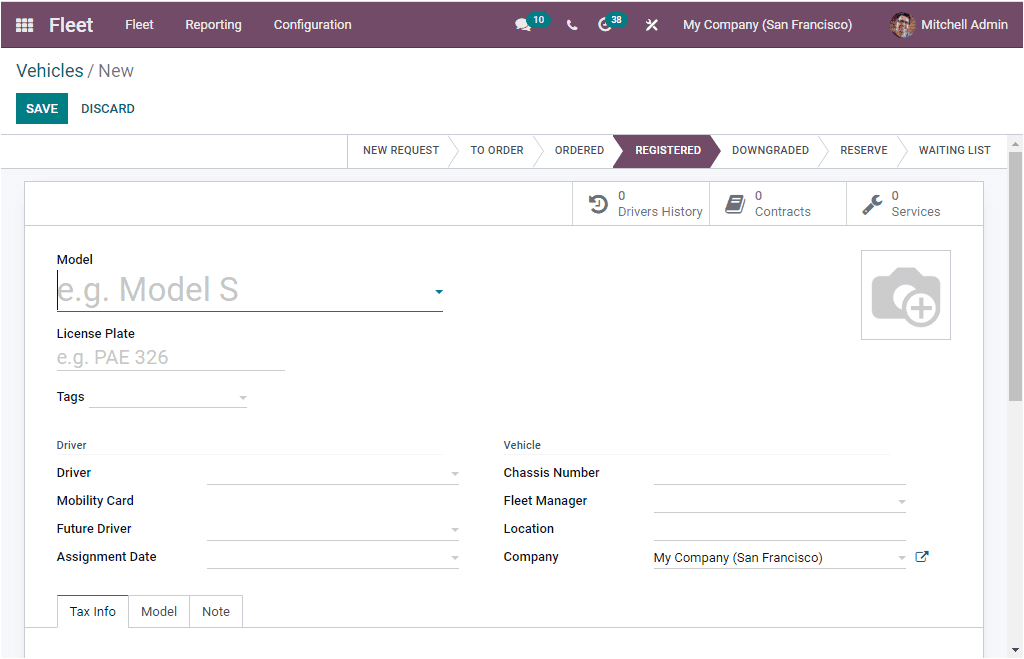

The above image displays the Vehicle creation form to provide all the details regarding your new vehicle. First of all, you can specify the Model of the vehicle, and then you can allocate the License Plate number of the vehicle along with the Photograph of the vehicle. In addition, you can provide various tags for quickly identifying the vehicle. In the Driver section, you can give the Driver's Name along with the Mobility Card. When coming to the Future Driver field, you can specify the next driver address.
Moreover, you can describe the Assignment Date. If you provide a date here, this will be considered the date the car will be available. If you leave this field empty, it denotes that the vehicle will be available instantly.
In the Vehicles details section, you can provide the Chassis Number, Fleet Manager, Location, and Company. Under the Tax Infotab, you can allocate the Horsepower Taxation, Disallowed Expenses Rate, and the Start Date along with its percentage can be given under the Start Date option; you can add it by clicking on the Add a line Button available.
Additionally, in the Contract section of the Tax Info tab, you can include First Contract Date, Catalog Value(VAT include), Purchase Value, and Residual Value.
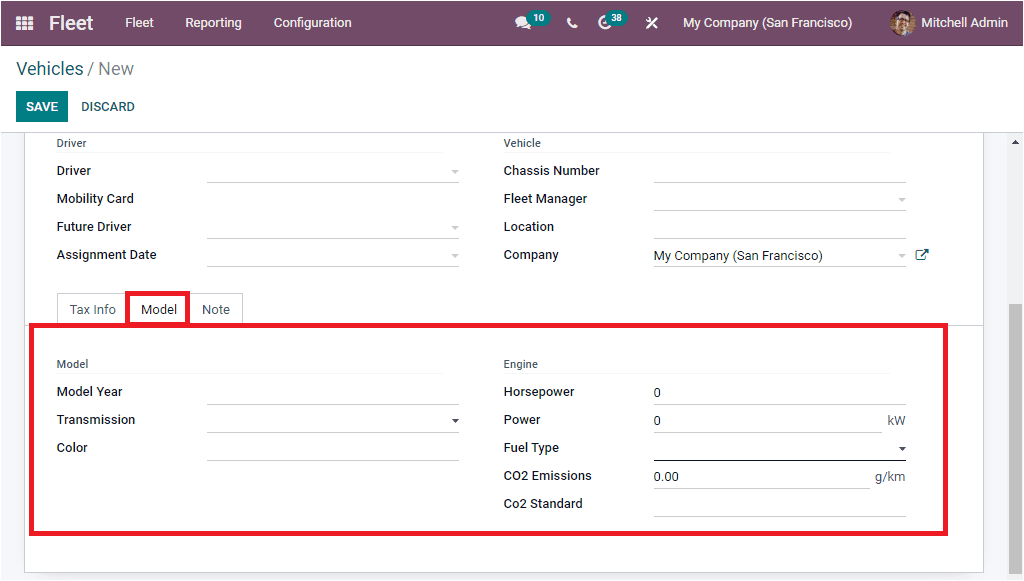
Under the Model tab of the Vehicle creation window, you can demonstrate the details such as Model Year, Transmission, and Color. You can also define the engine details such as HorsePower, Power, Fuel Type, Carbon Dioxide emissions of the vehicle, and the Carbon Dioxide Standard.
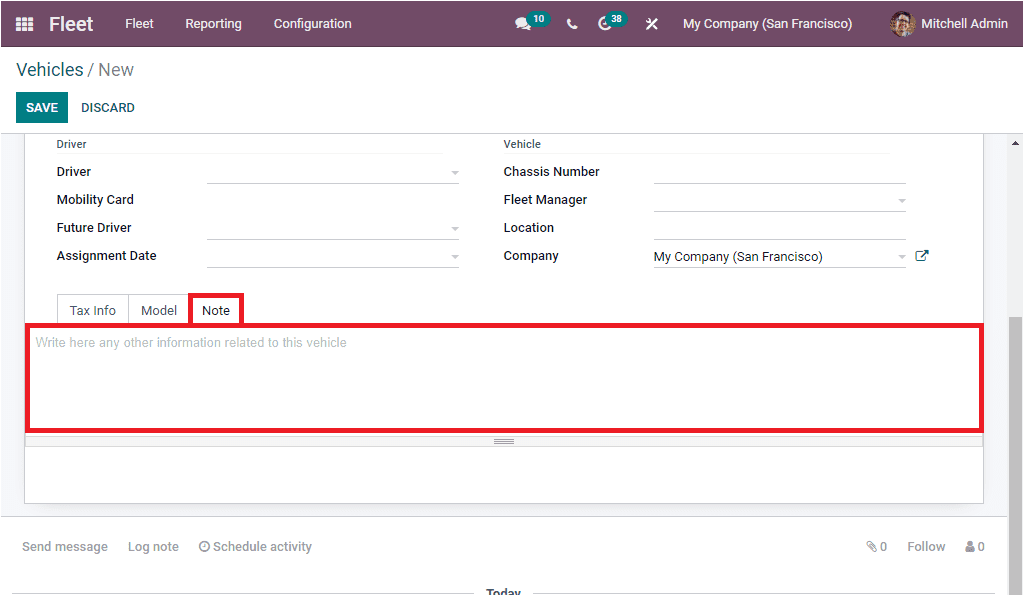
Under the Notes tab of the Vehicle creation window, note down any other information related to this vehicle.
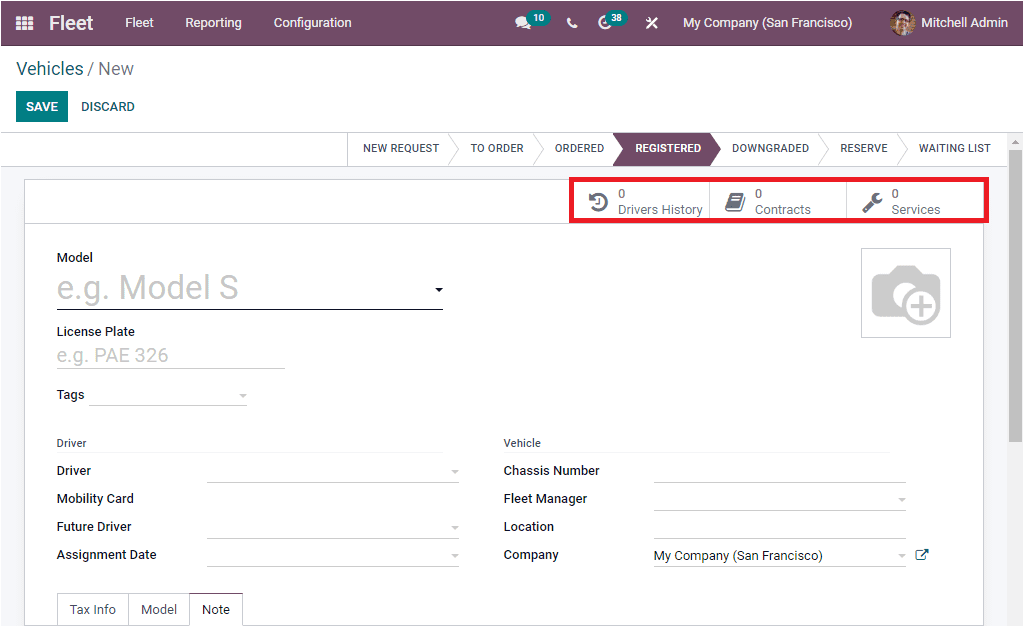
Apart from these options, the window also includes a few smart buttons based on the modules you installed in the system. These smart buttons will be the direct link to that particular operation. Here you can view three smart buttons: Drivers History, Contracts, and Services. The images of these icons are highlighted in the below image. Similarly, the window displays various stages of the vehicle's operations on the top as NEW REQUEST, TO ORDER, ORDERED, REGISTERED, and so on. You can click on the suitable stage of your created vehicle.
After providing all the required information, you can click on the SAVE button to save the details to create a new vehicle on the platform. The newly created vehicle will be added to the Vehicles list in accordance with the selected stage.
So far, we discussed the Vehicles window in the Odoo Fleet management module, and now let us look into the Contracts window.